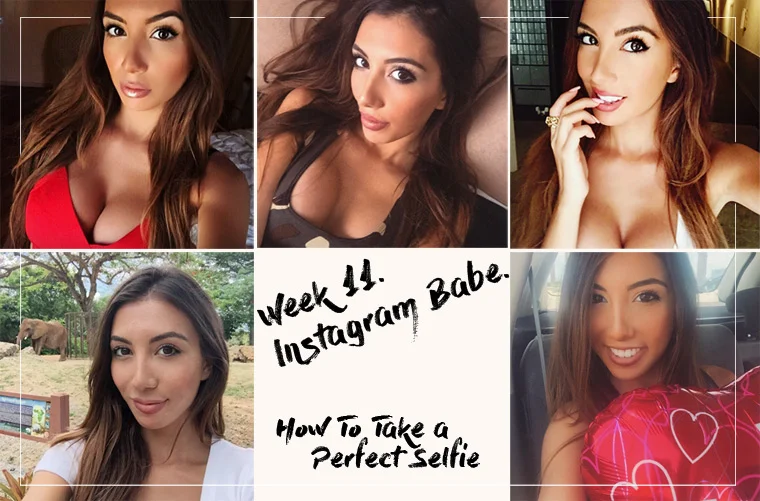
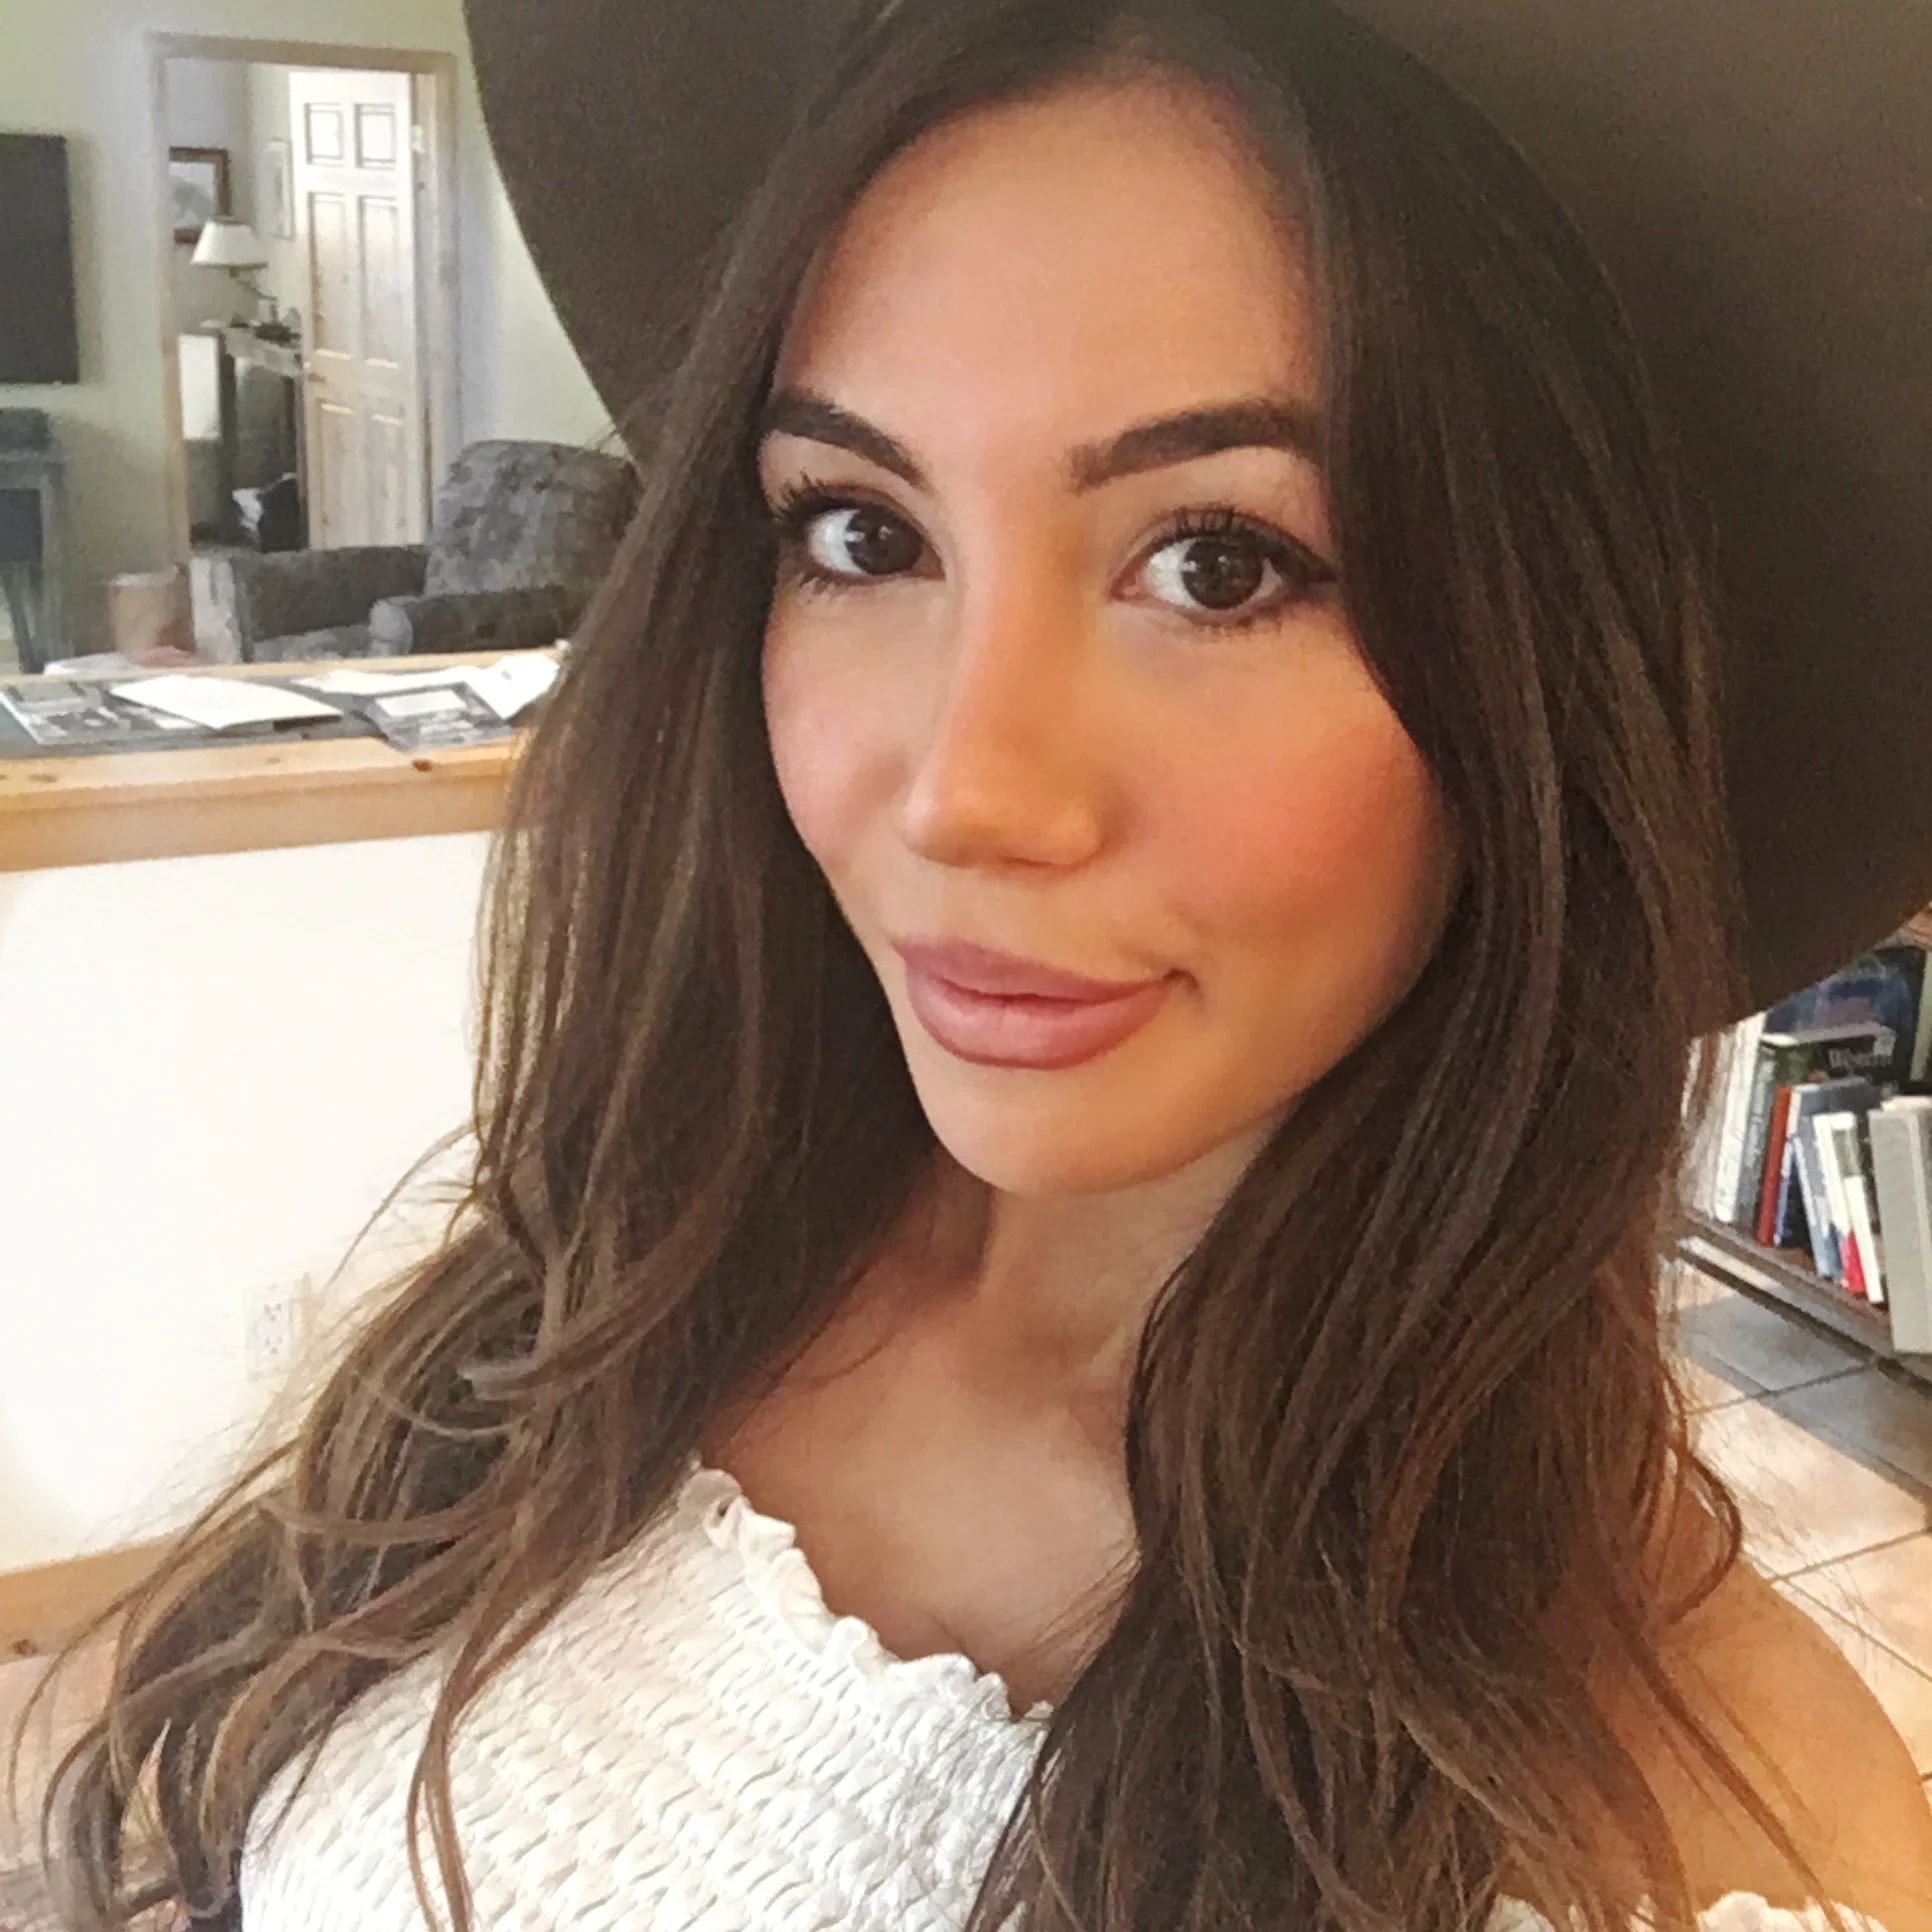
I have been busy in Park City with my hubby the last few days, so I was't able to publish the last post of the Instagram Babe Week on time. However, I always try to keep my promises and below I am sharing a few tips on how to take the perfect selfie. And get ready for the new Theme of the Week that will appear shortly!
7 Secrets of a Perfect Selfie
It might come as a surprise to many of you, but I am not a huge fan of social media. I do not try too hard to gain more followers, I don't buy thousands of fake likes just to prove something, nor do I share as regularly as some social media maniacs do. On the other hand, I am genuinely trying to increase the engagement level and the quality of my content, even though most of the times I laugh at myself and my generation for caring so much. But we all care at least a little bit, and we do want to take good selfies!
I have gathered all the information I could, from my own experience and from the experiences of a few of my most-followed friends and came up with this little guide to perfect selfie-taking.
1. Lighting is everything.
Good light is one of the most basic key elements of every successful photograph. My best selfies are taken indoors using natural sunlight coming from the window. Always face the light for crisper, sharper and more vivid photos. Outdoors self-portraits can be beautiful as well, however try to take them in the shade and preferably before noon when the sun is not too bright.
Avoid taking photos at night because even if you turn on every single light in your house, your face will probably look too yellow and flat.
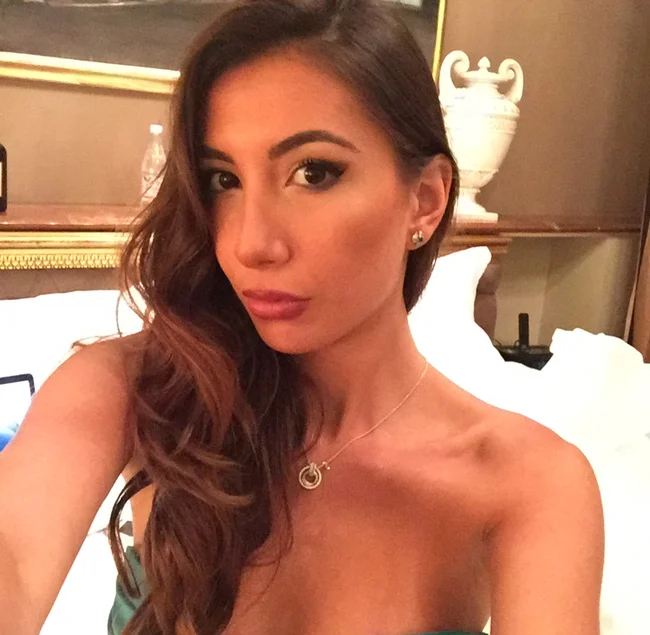
Poor Indoor Light. My skin looks too yellow and flat.
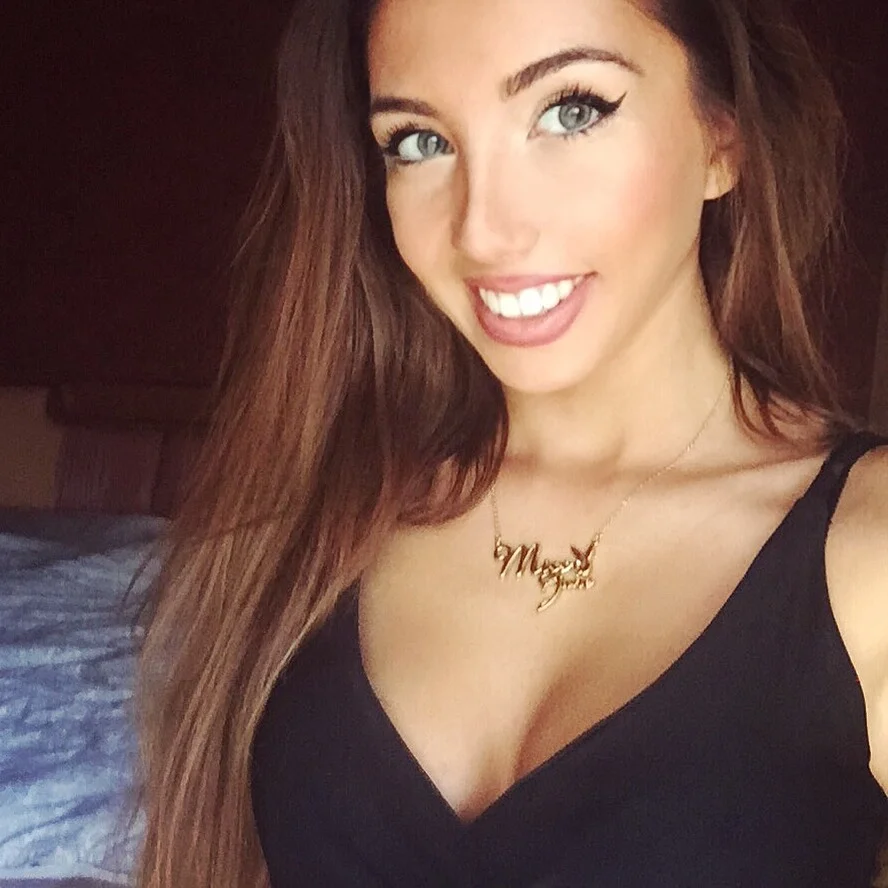
Natural light coming from a window falls beautifully on my face.
2. Insta-makeup.
Girls with the most liked selfies often have very heavily done up make-up which looks amazing on Instagram, but quite ridiculous and cake-y in real life. If you want to do full blown Insta-makeup, watch this tutorial:
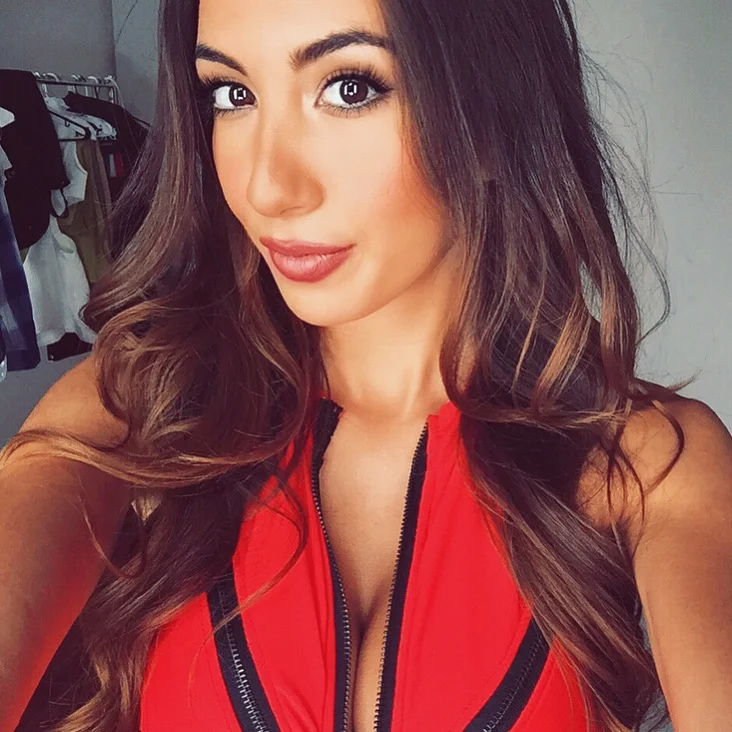
Double layer of Dior Mascara to make my eyes prettier.
If you are like me, a little bit more sensible and not willing to spend an hour drawing another face on top of your own, follow my easy little tricks. I've noticed that the most important part of my selfies is my eyes. I almost never wear faux eyelashes, but when I do, my selfies look prettier.
No one has time for applying faux lashes, so usually I just use a double coat of my favourite Diorshow Iconic Mascara.
My TOP 3 Mascaras:
Another area I also focus on is my under eyes. Try to conceal any darkness under your eyes and make the area as light (but natural looking!) as possible.
Here are my TOP under-eye concealers:
If you do not have time to perfect your make up, download the Perfect365 app. Almost every single girl I know uses apps to enhance her beauty, but the ones who nail it, use it just a tiny bit. Make-up apps can make you look like a clown, however if you use it moderately, you will get great results! I use Perfect365 when I find that my eyelashes don't look long enough.
BEFORE Editing.
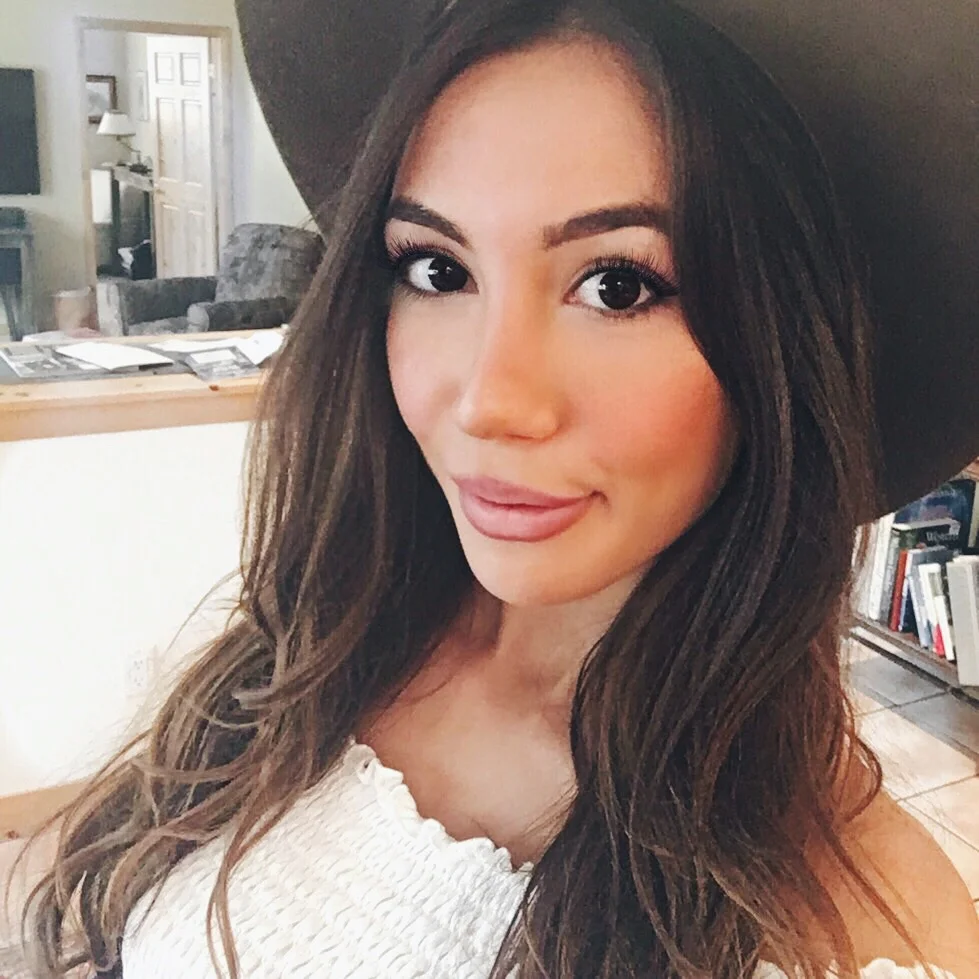
After. Have you noticed that my eyelashes are darker and longer? I also added the HB1 VSCO filter to adjust colours.
3. Clear the Background.
Make sure there is nothing in your background that will distract from your face. Try to have as few colours in the background as possible. Some bloggers recommend using the Whitening Tool on the FaceTune app for whitening/discolouring the background.
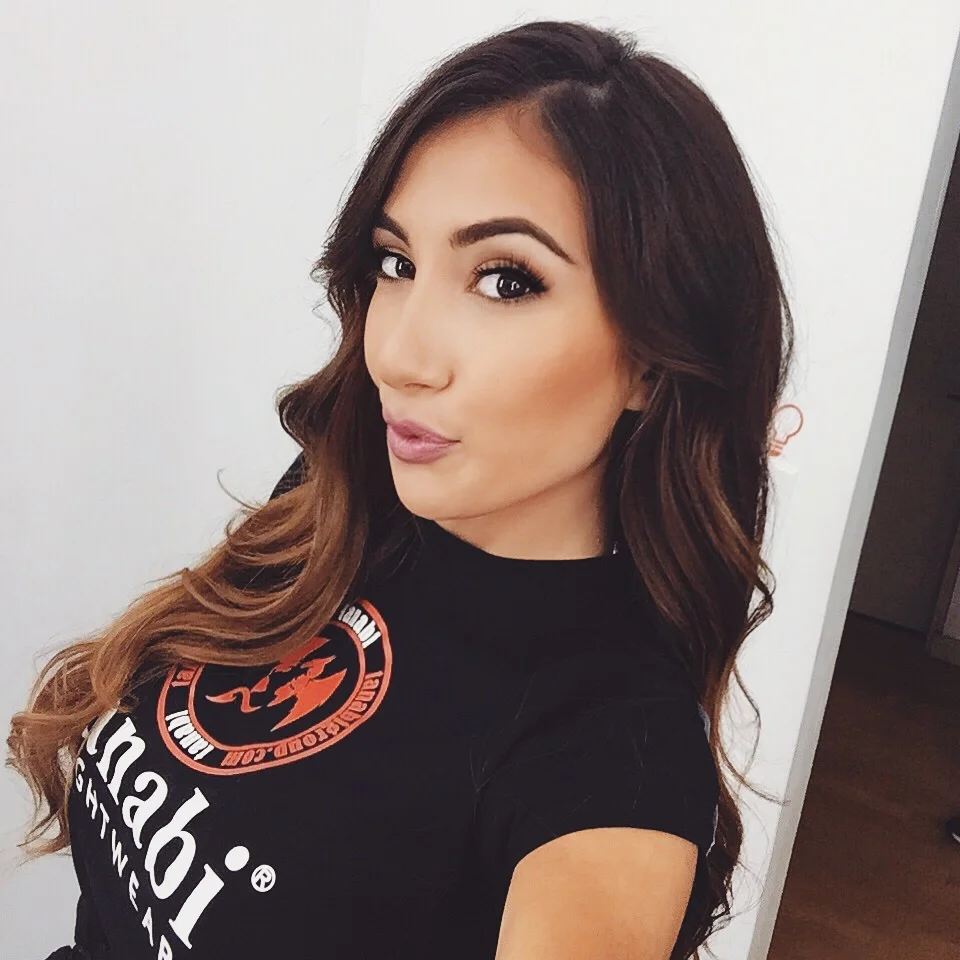
White walls are always handy!
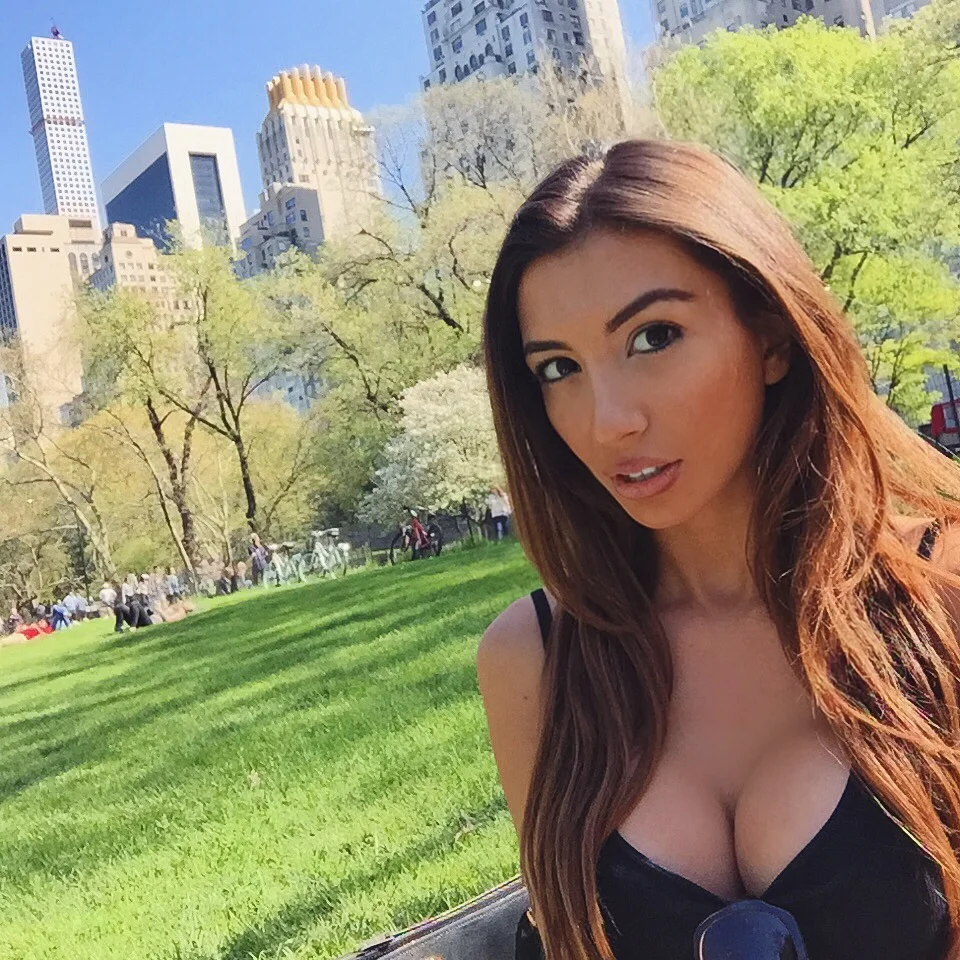
But a beautiful landscape or city view can look gorgeous in a selfie as well.
If you want to show your background then make sure it's interesting and that you fit well into the photograph.
4. Know Your Angles.
"Legend" has it that Ariana Grande demands photographers and filmmakers only shoot her left side. We get it, Ariana has a favourite side. You might not have to go that far, but you can certainly experiment to try to find your most flattering angle and facial expressions.
P.S. I just noticed that I usually find my left side more photogenic as well!
5. Organise your Instafeed
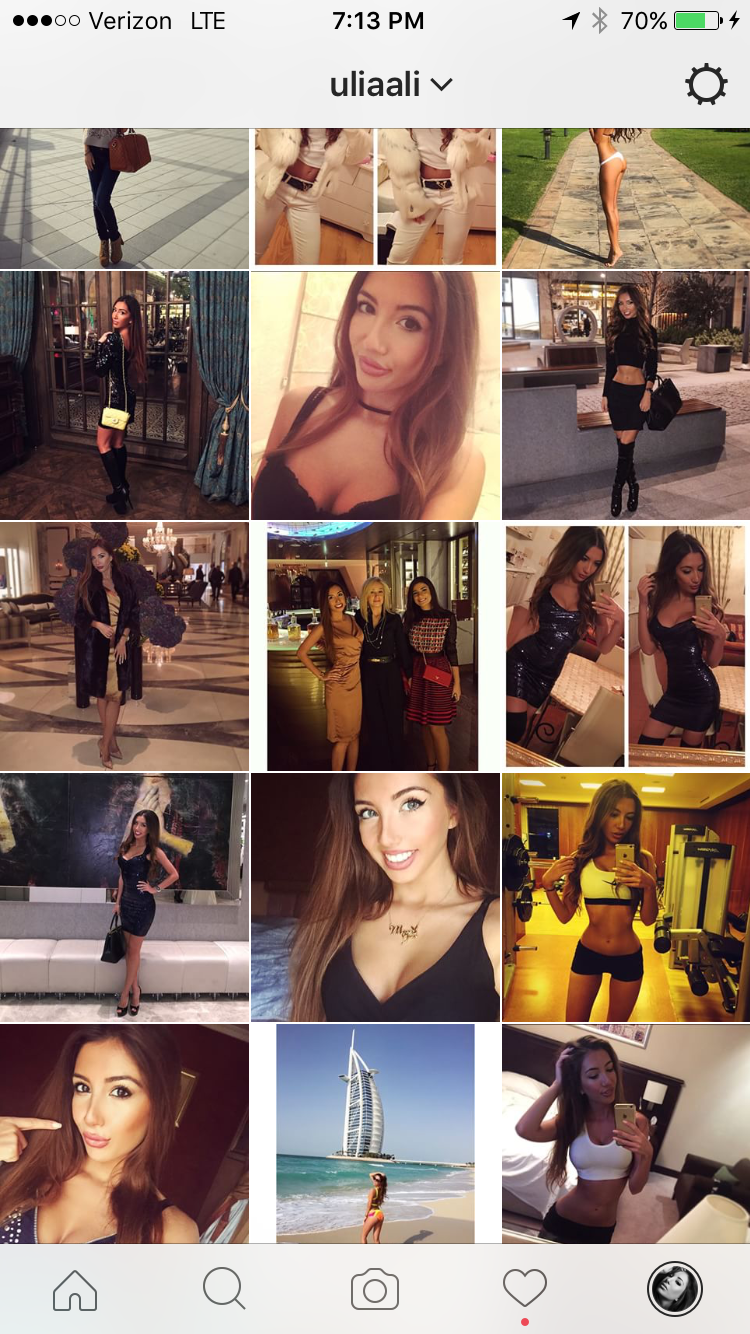
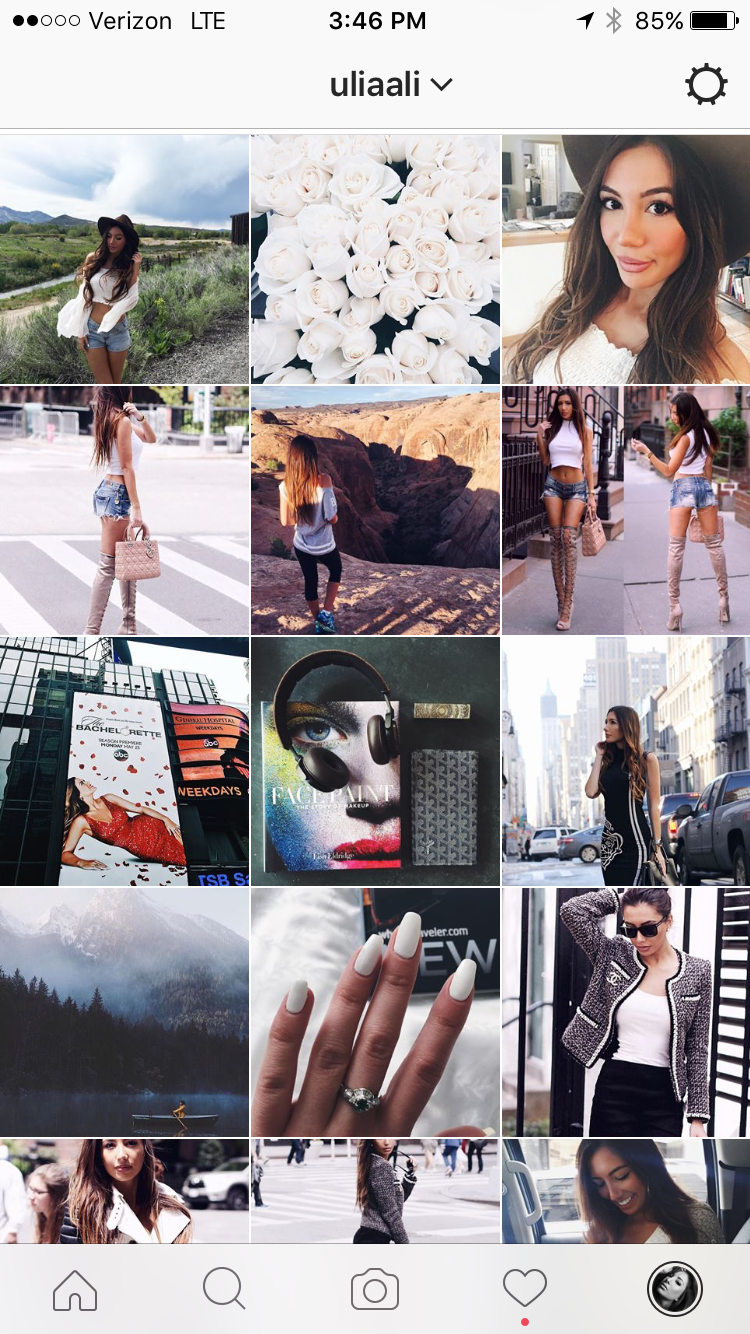
I used to post without thinking of the overall colour palette of my Instagram gallery. But lately I've been trying to make my Instagram page look more consistent and organised. VSCO is my favourite app for organising my Instagram Feed. You can upload the photos you post on Instagram to VSCO in the same order and then use the app to see if the next picture will fit into your gallery and play with its colours.
My Instagram Feed a year ago. Colours and croppings are inconsistent.
My Instagram Feed now. More sleek and organized.
Did you find any of these tips useful? Do you have your own insta-secrets? Share on our FACEBOOK page or write in the comments below.

